720-390-8762
skidshield@gmail.com

How To Protect Your Sewer Inspection Camera and Avoid Damage

Protecting Your Sewer Inspection Camera
Common Pitfalls and Proactive Solutions
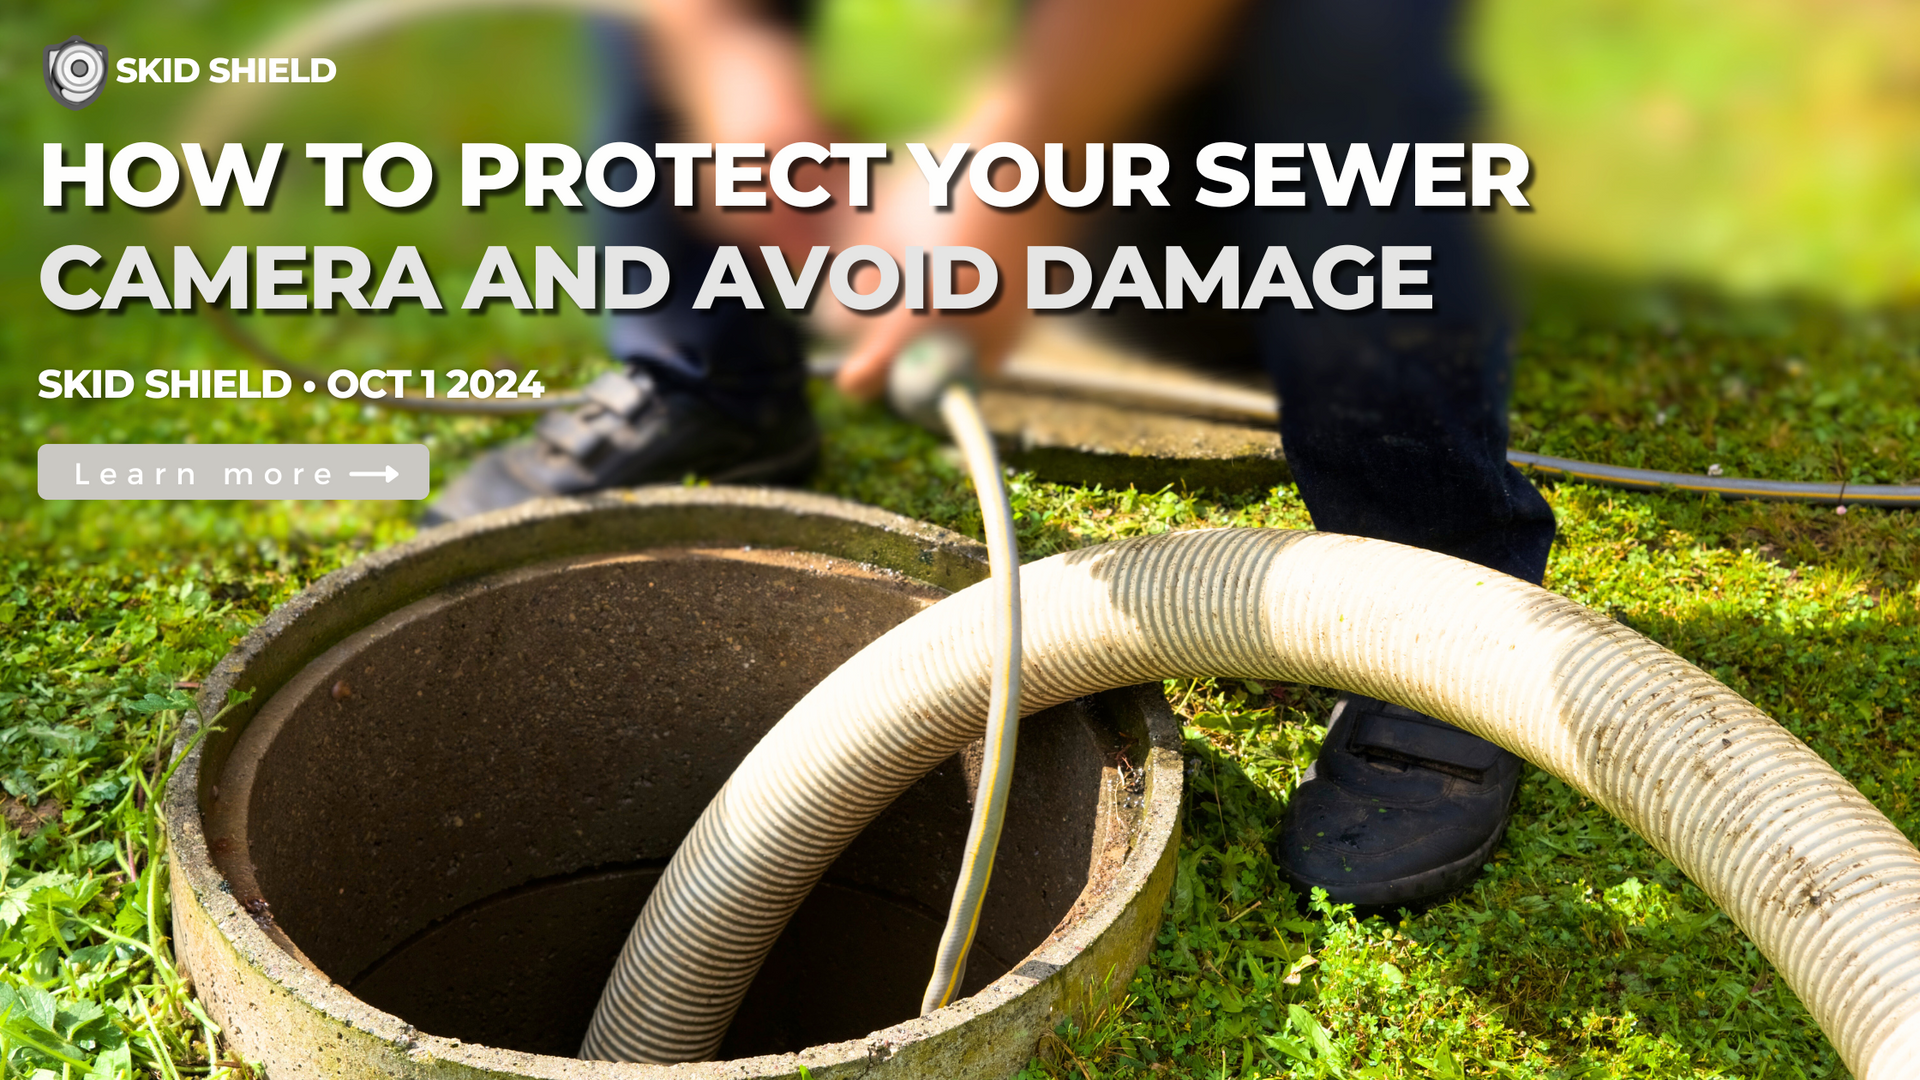
Imagine you arrive at a charming older home with a well-maintained yard, but the owner is frustrated—her drains keep backing up. After inspecting the plumbing system, you suspect a root clog might be the culprit. Armed with your sewer inspection camera, you kneel next to the clean-out, ready to navigate through the twists and turns of the pipes to uncover the problem. As you prepare to lower the camera into the depths, you can’t help but wonder: what could possibly go wrong?
Unfortunately, quite a bit can go awry if you’re not careful. Many professionals face avoidable mishaps that can lead to costly repairs. Let’s explore some common issues and how to sidestep them.
Common Issues
- Kinking the Push Rod
What Happens: Most kinks occur in the first few feet of the push rod, often due to excessive force or improper handling.
Tip: Keep your hands low and close to the drain. Use smooth, deliberate motions to navigate turns and avoid pushing too hard.
2. Camera Head Damage
What Happens: The camera head is particularly vulnerable and can sustain damage if it’s used for tasks it’s not designed for, like breaking through clogs.
Tip: Treat the camera as the precision instrument it is. Always monitor its surroundings and stop before it encounters potential hazards.
3. Water Intrusion from Prolonged Exposure
What Happens: Keeping the camera submerged for too long can lead to water damage.
Tip: After each use, dry off the camera and store it in a cool, dry place.
4. Twisted or Tangled Cable
What Happens: Improper handling can cause cables to twist or tangle, leading to internal damage.
Tip: Always reel in cables carefully and store them properly to avoid knots and twists.
5. Inadequate Lighting During Inspection
What Happens: Failing to adjust the lighting can result in poor visibility, causing you to miss crucial details.
Tip: Test and adjust your camera’s lighting before beginning each inspection.
6. Incorrect Angle of Entry
What Happens: Inserting the camera at an improper angle can cause it to jam or damage the lens.
Tip: Ensure that the camera is aligned properly for easy navigation.
7. Neglecting Maintenance Checks
What Happens: Skipping routine inspections can lead to undetected wear and potential breakdowns.
Tip: Establish a regular maintenance routine to catch issues early.
8.
Environmental Hazards
What Happens: Working in messy or chemically hazardous environments can damage your equipment.
Tip: Always assess your work environment and take necessary precautions, such as using protective gear.
Proactive Tips for Protection
- Stay Grounded:
Position yourself close to the drain to maintain control over the push rod. This minimizes the risk of kinking and allows for quicker adjustments.
- Move Deliberately:
Avoid quick, jerky movements. Instead, opt for slow, controlled motions, especially around bends. A little patience can save you a lot of money.
- Keep Your Eyes on the Monitor:
Continuously watch the monitor while inspecting. Being vigilant can help you detect potential problems before they escalate.
- Limit Exposure to Moisture:
While the camera is designed to handle wet environments, limit its time submerged to prevent internal damage. Always dry it off after use.
Before and after each job, check your equipment thoroughly. Look for wear and tear, and clean the lens to ensure optimal visibility.
- Properly Store Your Equipment:
Use a designated storage case to keep your camera safe from environmental factors and physical damage. Ensure cables are coiled neatly to prevent tangles.
- Avoid Overextending the Rod:
Don’t push the camera too far into the line without assessing resistance. If something feels off, retract and evaluate instead of forcing it through.
- Educate Your Team:
If you work with others, ensure they understand the importance of proper handling. A well-trained team can significantly reduce the risk of accidents.
- Shield from Heat:
Avoid exposing your camera to direct sunlight or extreme heat. Protecting it from these elements can prolong its lifespan.
- Know When to Upgrade:
Familiarize yourself with your camera's limits. If it's showing signs of aging or wear, consider investing in a new model to ensure reliability.
- Use a Protective Skid:
Invest in a skid or cover designed for your camera. This adds an extra layer of protection against impacts and debris, especially in rough environments.
- Conduct Pre-Job Equipment Checks:
Before heading out, perform a thorough inspection of your camera and push rod. Look for cracks, frays, or signs of wear.
- Adjust Camera Settings Before Use:
Ensure that all settings are optimal for the specific job at hand. This includes adjusting focus, brightness, and recording options.
- Document Each Use:
Keep a log of each inspection, noting any issues encountered. This can help you track wear and tear over time and anticipate potential repairs.
- Utilize a Spotter:
If possible, have someone assist you by monitoring the camera feed while you operate. This allows for immediate feedback and reduces the chance of damage.
- Familiarize Yourself with the Pipe Layout:
Before starting the inspection, understand the layout of the pipes. Knowing where the bends and potential hazards are can help you navigate more safely.
- Avoid Using Chemical Cleaners:
Chemicals can damage your camera and other tools. If you suspect a chemical blockage, seek professional help instead of attempting to clear it yourself.
- Consider Using a Backup Camera:
If you frequently deal with challenging environments, having a secondary camera can be invaluable. This ensures you’re never left without a means to complete an inspection.
- Invest in Training:
Consider attending workshops or training sessions focused on the proper use and care of sewer inspection cameras. Continuous learning can help you avoid common pitfalls.
Conclusion
By being aware of common pitfalls and following these proactive tips, you can significantly extend the lifespan of your sewer inspection camera. Taking care to handle your equipment properly not only saves money but also ensures that you can continue to provide effective service to your clients. Prioritize protection, and your camera will reward you with many successful inspections ahead.
Roman Fairchild
CEO, Skid Shield
Website:
skidshield.store
Email: skidshield@gmail.com


All Rights Reserved | SkidShield
Commerce City, Colorado United States
720 390 8762 | skidshield@gmail.com


